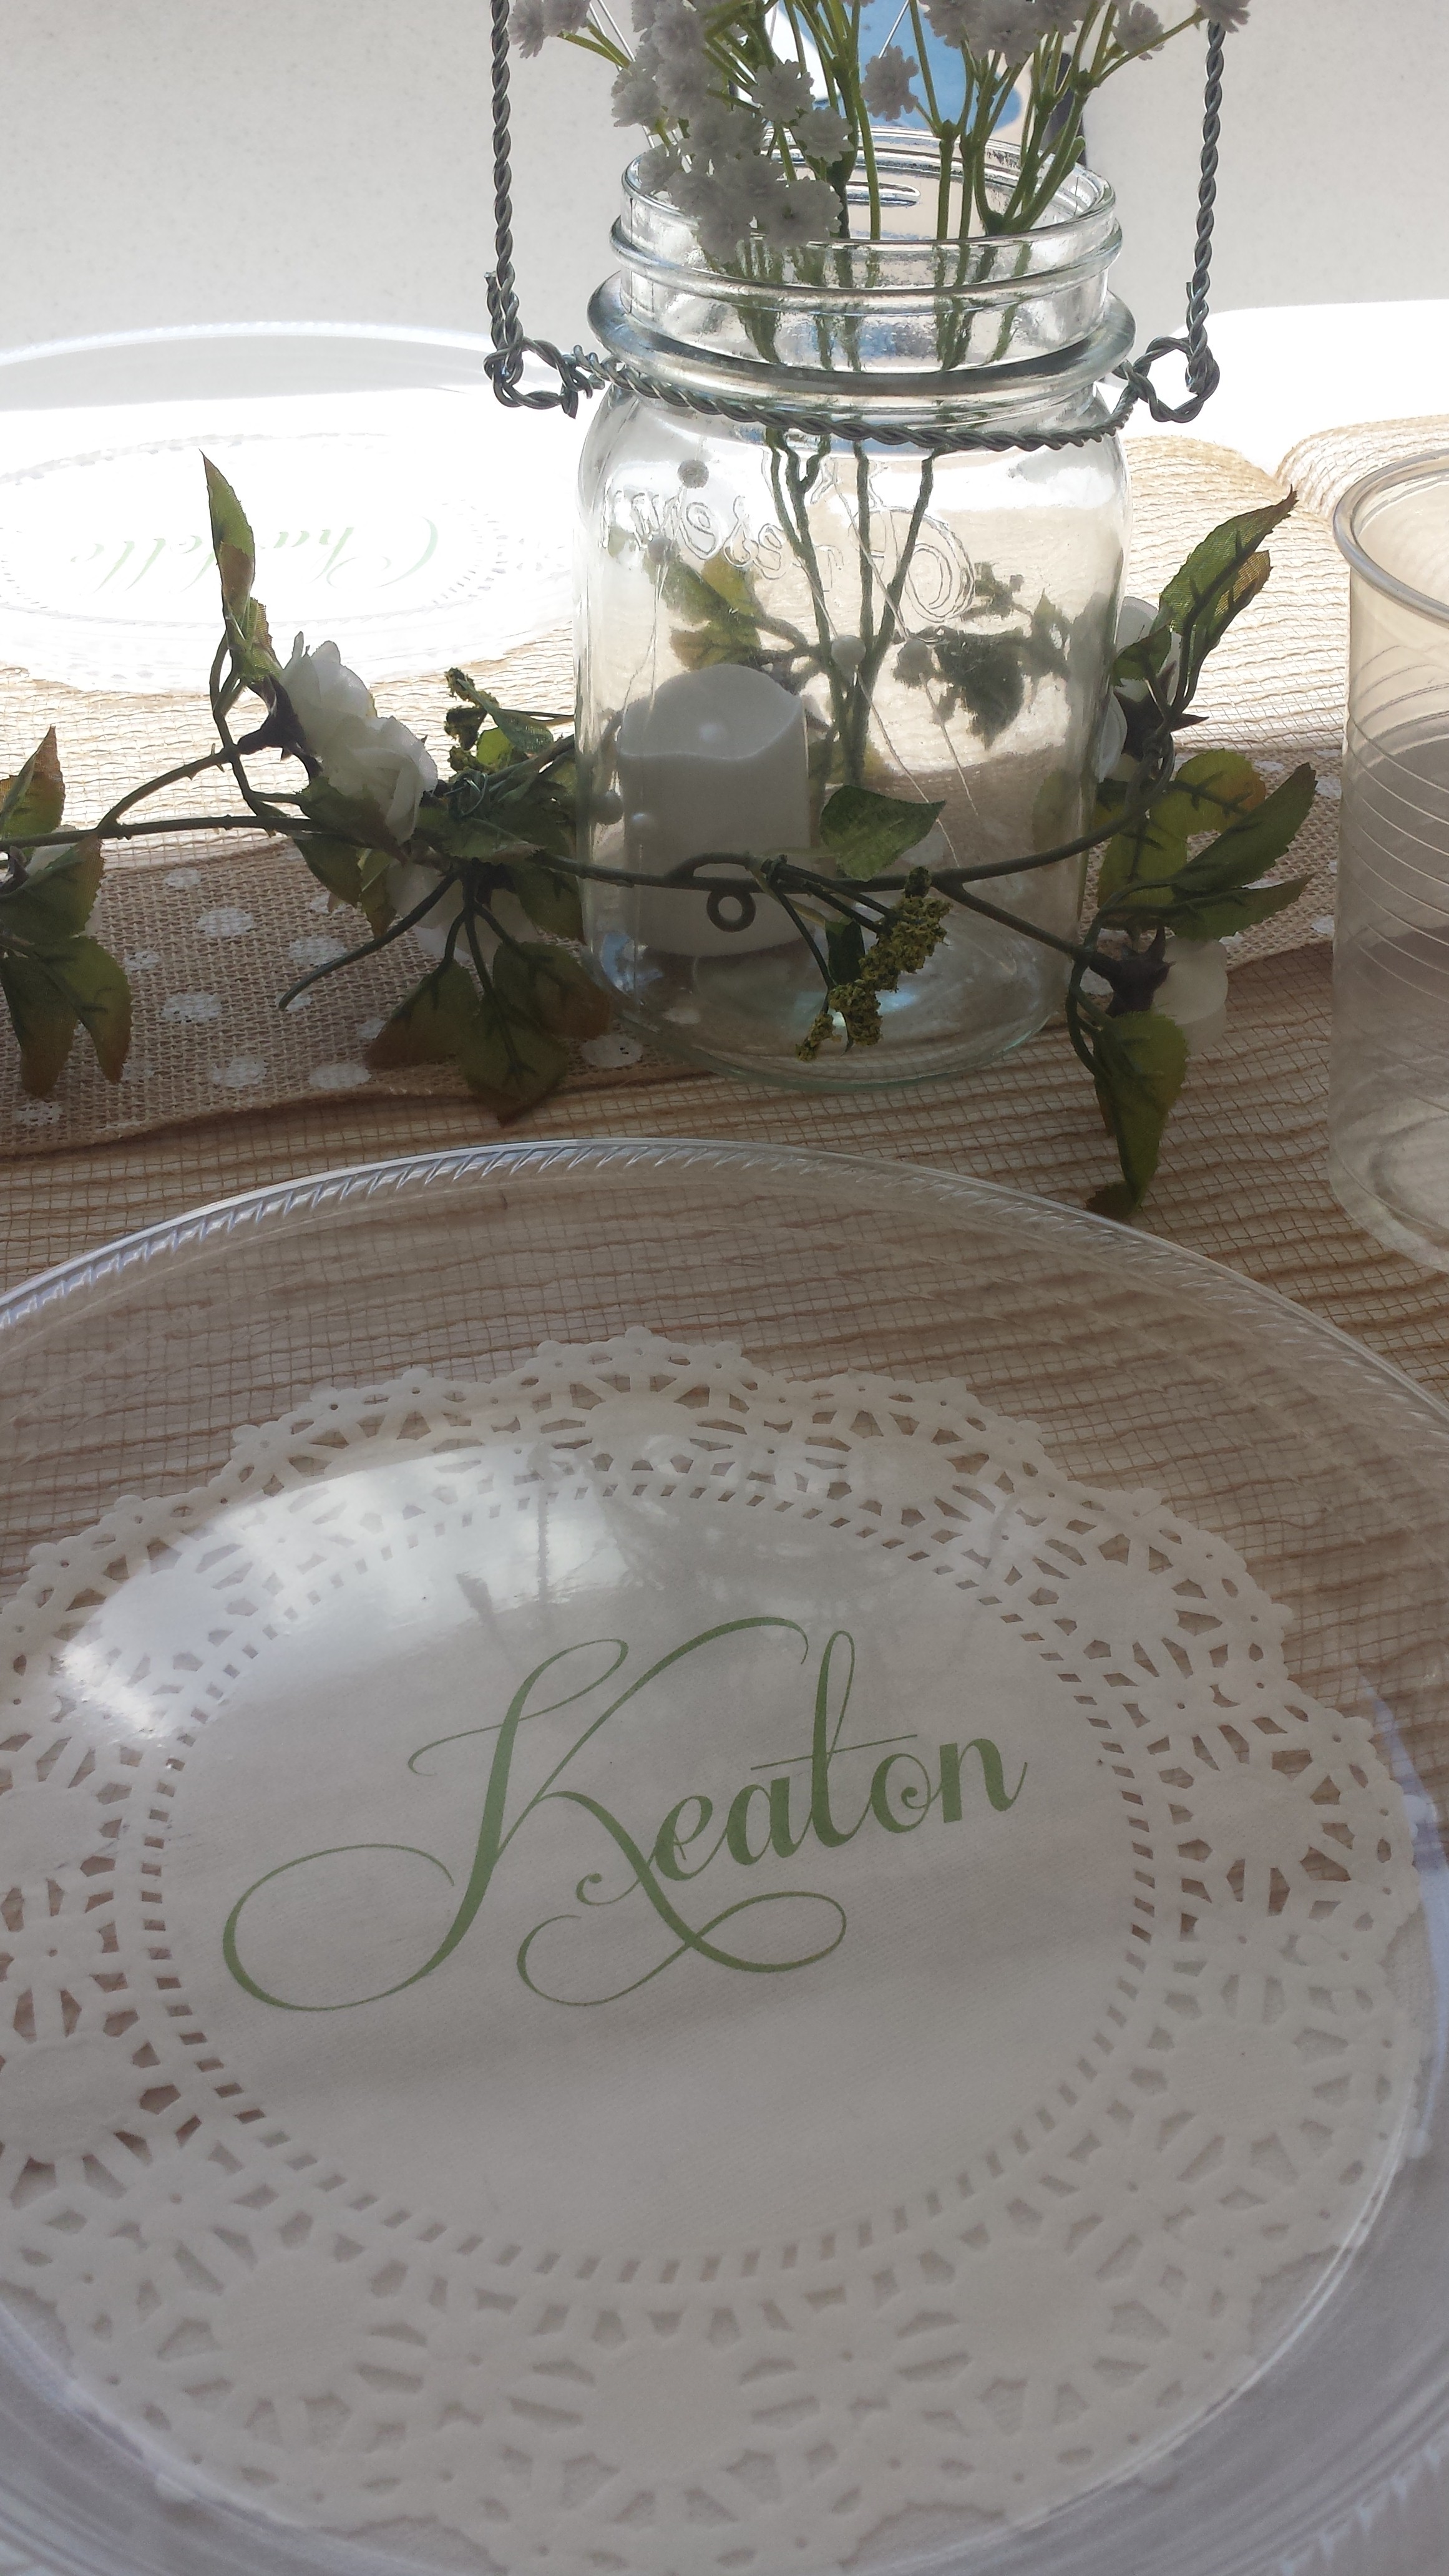
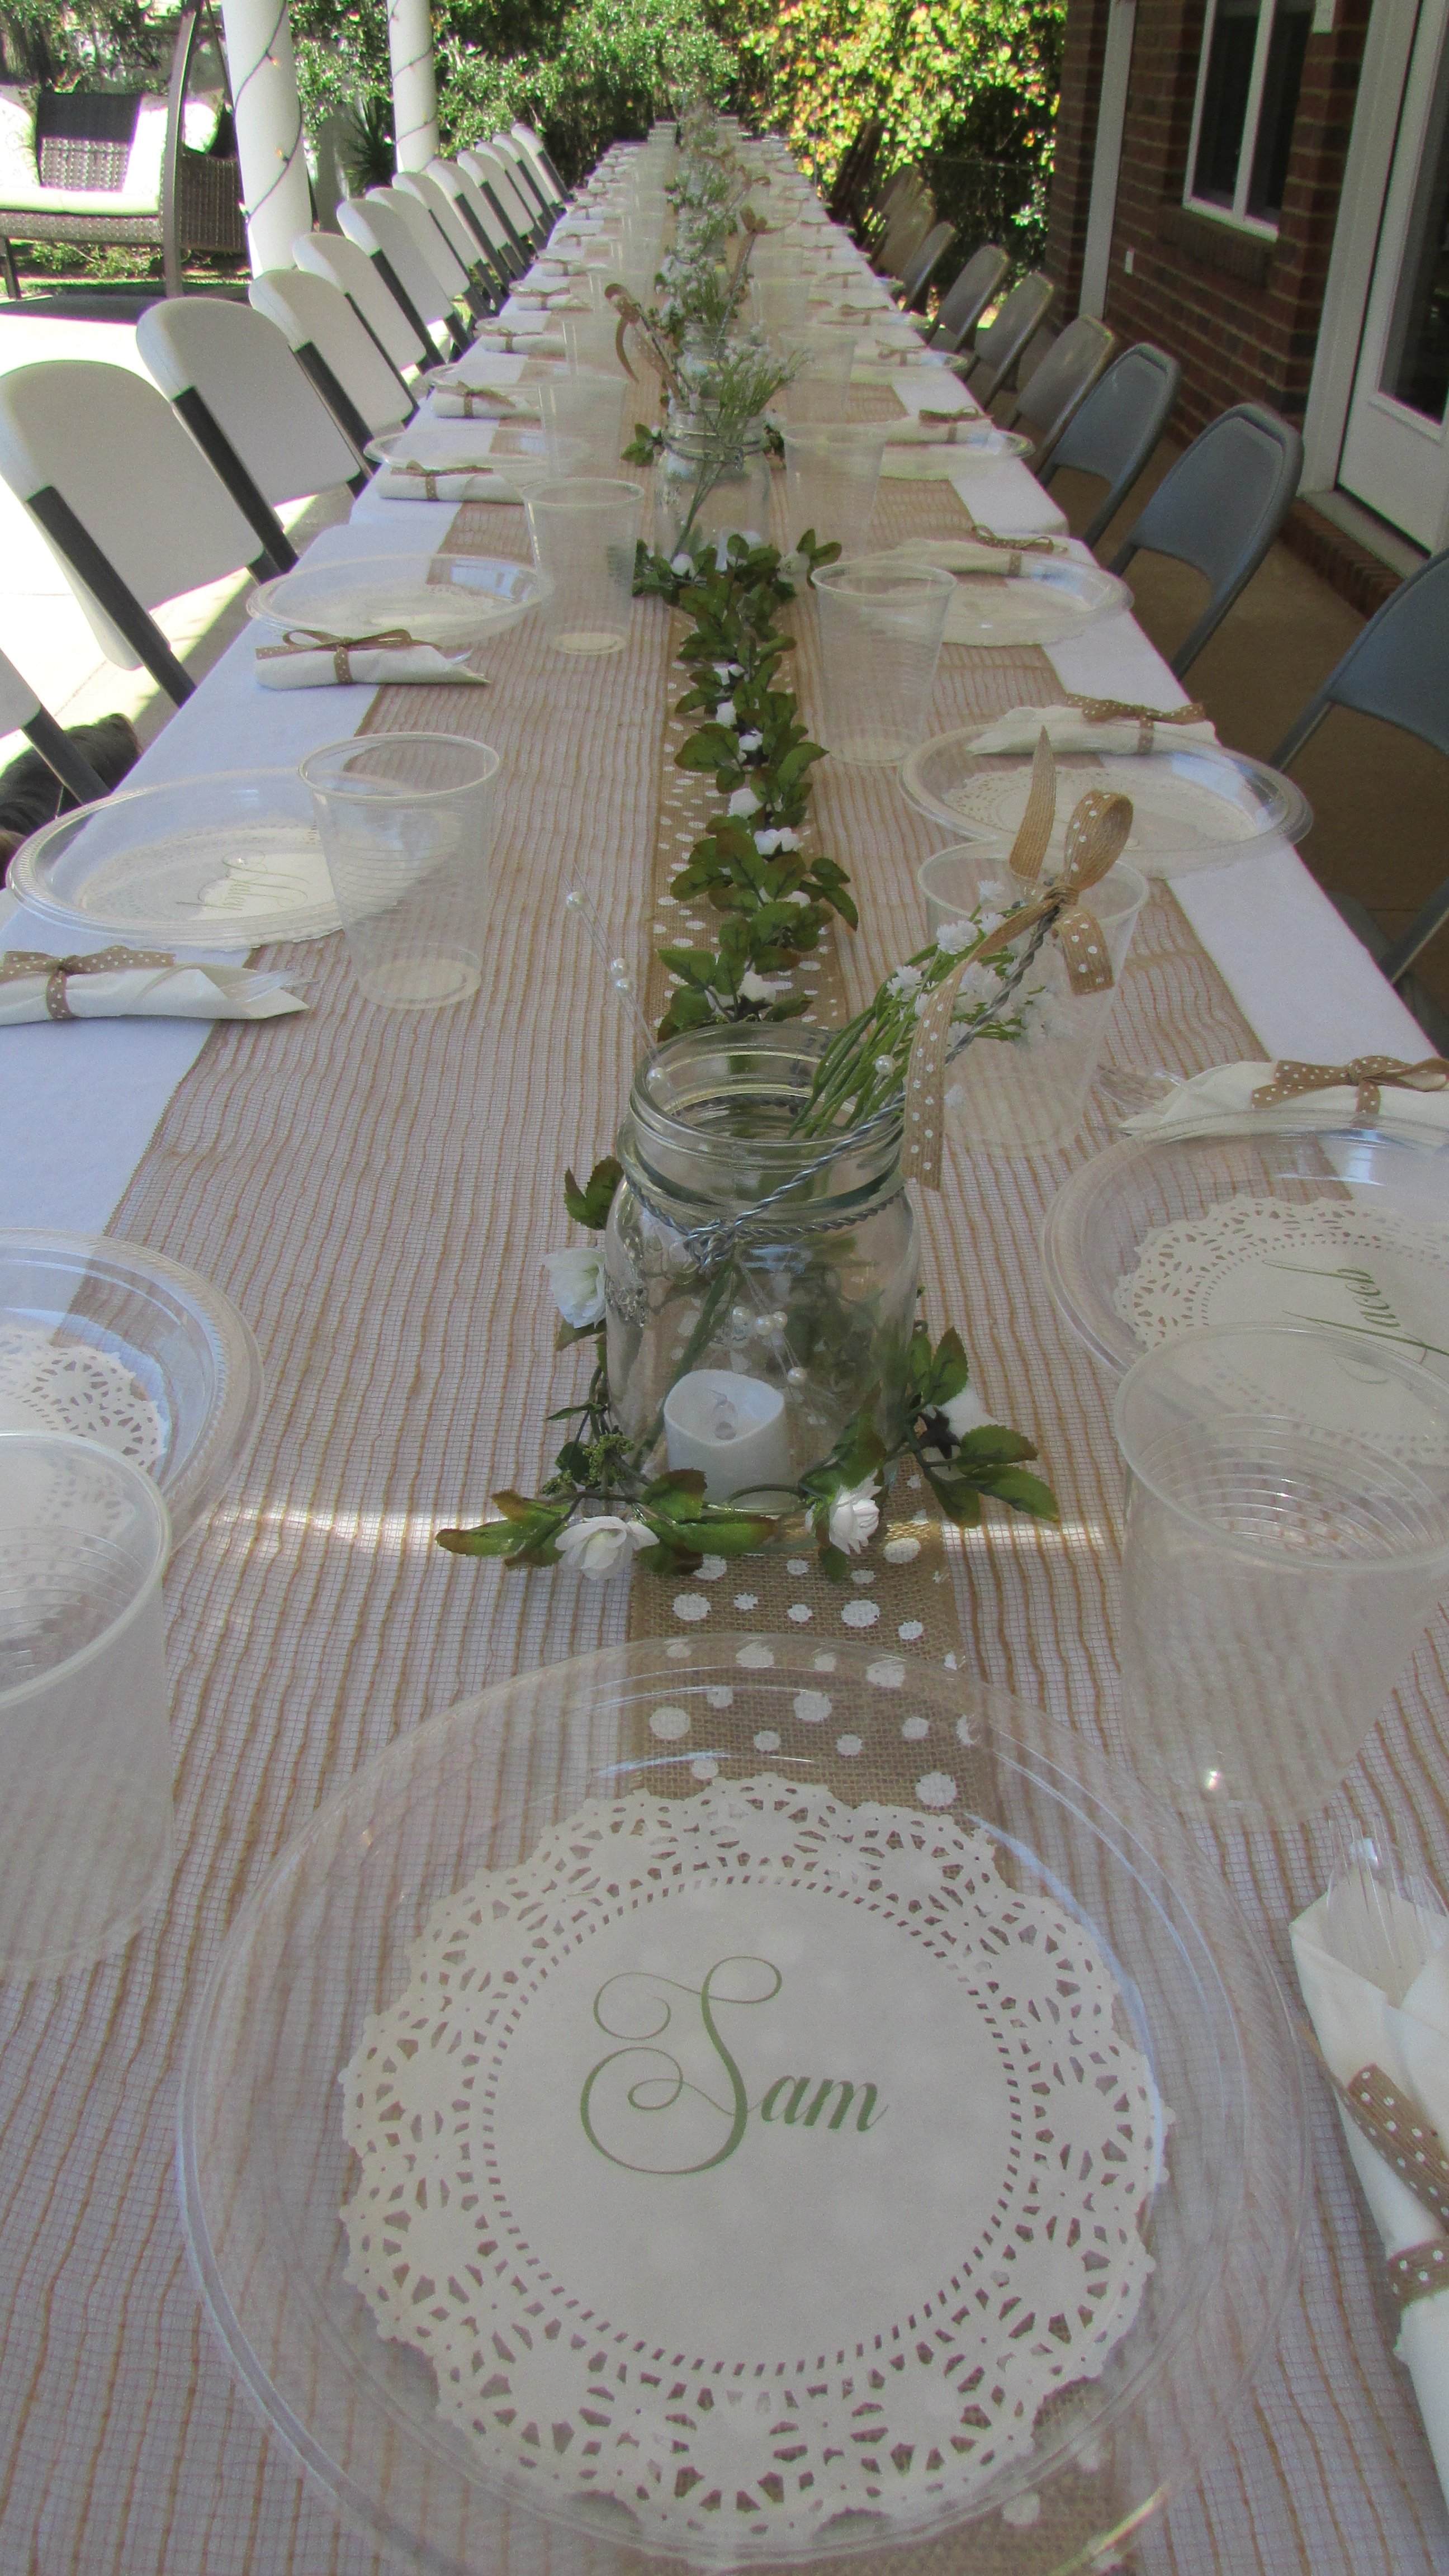
So I saw an idea similar to this on Pinterest, and I thought I would try it for my son’s Homecoming dinner. I just used clear plastic (read: CHEAP!) plates, but with these personalized doilies underneath the plates, it gave it a more upscale look (which my son, Keaton, was really concerned about……NOT), but his girlfriend and the other girls seemed to appreciate it! It was QUITE a challenge to figure out how to run these paper doilies through a printer, but I wanted to use a really nice font, and I wanted to be able to pick the color of the ink. Here’s how they turned out:
So if you’d like to try this, you can purchase these paper doilies at just about any craft store – here’s a link!
They’re $1.99 for 16 – and – unless you’re a magician – buy EXTRA. The best way I found to do this – and you’ll either think I’m very tenacious or a complete idiot – is to run a piece of cardstock through your printer and get the name the color and size you want. The font I used is called “Respective,” and you can get it – for FREE here!
Tape the doily in four places (top, bottom, and each side) over the piece of cardstock so that the name shows up where you want it (you can see the name through the doily), then run the cardstock with the doily taped to it through your printer again. Ta-Da! Your name is printed on your doily! Here comes the hard part (where “idiot” is probably the winner) – carefully peel the tape off of the doily and then reuse it for your next one. I found that the tape was much easier to remove after I had used it several times, so before you even use it the first time, tape it and pull it off of something a few times so it loses some of that initial stickiness. Does that make sense? If not, feel free to contact me for more help!

Hi, the plates look great! I have a quick question. Did you stick the doilies to the plates or are they just placed under the plates? I’m planning to personalize some plates for my daughter’s birthday party and looking for the best way to stick paper on plastic. Thanks for the answer!
Hi Basak! I’m so sorry I’ve taken so long to reply, but – to be honest – my blog is still a “work in progress,” so I wasn’t expecting anyone to find it and comment yet! This is the first time I realized I even HAD a comment! 🙂 It makes me happy that you did, though, and hopefully I’ll have the full blog up and running very soon! I actually wanted the doilies to stay on the table because I wanted everyone to have “assigned seats,” so rather than sticking the doilies to the plates, I stuck them to the table instead, and I used clear double stick tape. That might work for sticking them to the plates, too, actually! Good luck and thanks for being my very first “commenter!” 🙂
Thanks for figuring this out for me, Majesty! I am so going to do this for Easter… maybe put a border or cute bunny on it, too??
Hi Anne! Thanks bunches for your comment! I think the Easter border or bunny would look fantastic! Send me pics if it works out for you! 🙂
There is a removable tape available that might work with sticking the doily to the cardstock. It has blue plaid on the box and is made by the Scotch company. It sticks where it’s supposed to very well; but it’s also easily removed if necessary. Great idea about the doilies, by the way.
Thanks so much, Donna! Great idea – I will definitely try that next time to see if that will work better! 🙂
How did you run it though the printer?
Hi Breeshay!
Thanks so much for your comment! I tried to give step by step instructions in my post. I’m not sure how “clear” that was, but I just taped the doily to a piece of cardstock and ran it through the printer like a regular piece of paper. I give more details in my post, though! 🙂